How to prepare weatherboards without destroying the timber
High-pressure blasters, belt sanders and “take it back to bare” are how Peninsula weatherboards lose their face. A gentler prep that still makes paint stick.
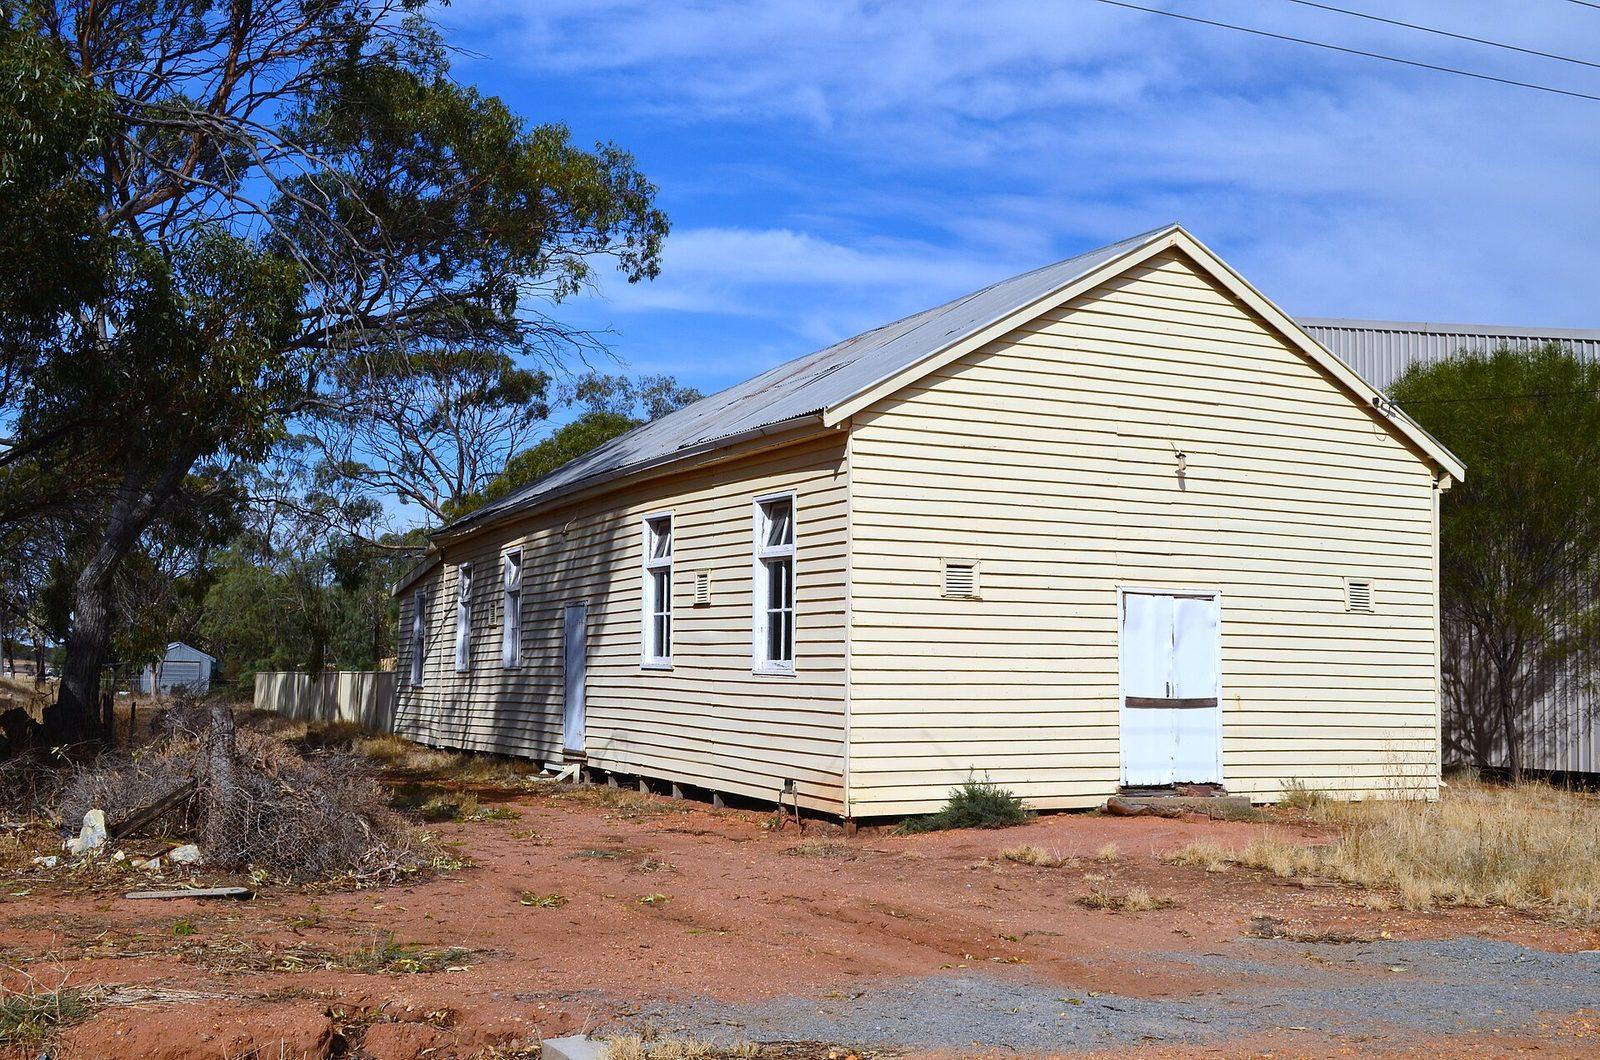
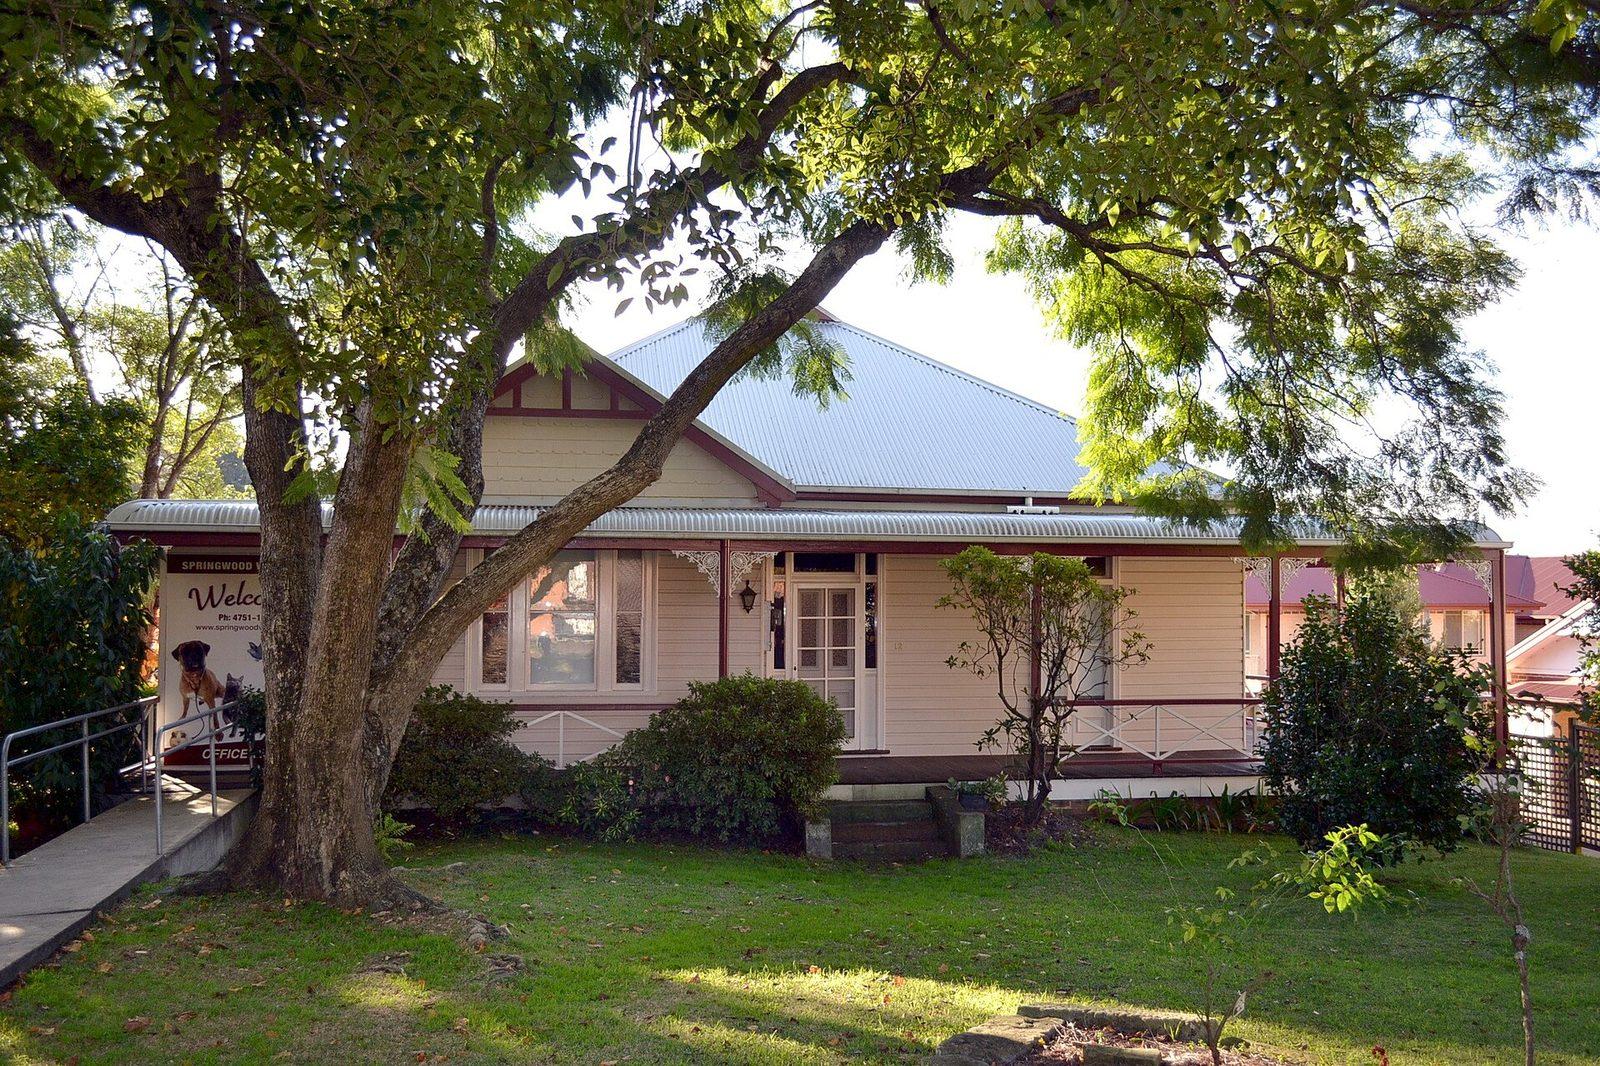
Weatherboards fail from the face if you punish them and from the edges if you ignore them. The Peninsula has both sins on display: furred grain from a hired blaster, and pristine faces with rotten bottom courses. Preparing timber for paint is conservation as much as abrasion. You want a keyed, clean, primed surface. You do not want half a millimetre less house.
This sits beside the weatherboard painting system and the prep sequence.
Water is a tool, not a weapon
A low-pressure wash with a house-wash chemical, brushing the laps, is the coastal default. If you use a pressure washer, keep the fan wide, the distance long, and the wand off the end grain. Water driven up behind boards sits there. You will then paint a wet house because Friday is booked.
After washing, wait. Timber is slow. A sunny afternoon does not dry a shaded south lap.
Scrapers before machines
A sharp scraper on failed film is controlled. A 40-grit belt sander on a 1920s board is how you dish the face and expose a topography no topcoat can hide. Sand to feather and to dull, not to reshape the cladding. Detail sanders on mouldings; blocks on flats.
If the house might be lead, machines that throw dust are a last resort with controls, not a first resort because they are satisfying. Lead guidance.
Grey timber is damaged timber
UV grows a grey, furry layer of dead fibres. Paint on it is paint on dust. Sand to a firm surface. On deep grey, you may take more than you like. That is still better than encapsulating ropey fibres. Primer designed for timber, applied to the manufacturer’s spread rate, is the cheap insurance. Starving primer into grey boards is a Peninsula classic.
End grain at corners drinks. Prime it. Twice if it still looks hungry. Rain will find the cut.
Rot: stop painting
Soft boards at the bottom course, around taps, behind leaking downpipes: cut out, splice, treat, then paint. Filler is not timber. Putty over rot is a timed joke. A painter should flag carpentry. An owner should not ask them to “just fill it”.
Caulk is not a personality
A little flexible sealant where a board meets a window can stop a water path. A bead run along every lap because someone likes the look of a white stripe will trap water and look like icing. Use caulk where a designer of water would use it.
Cement-look and fibre-cement “weatherboards”
Not timber. Do not oil-prime them as if they were hardwood. Follow the sheet manufacturer. Joints move. Treat them as masonry cousins rather than as oak.
The test of a good prep
Run your hand along the board. It should feel dull, firm, and clean — not furry, not greasy, not powdery. Look at the bottom edge. Can you see bare timber? Prime it. Look at the nails. Are they rusting? Prime them as metal.
If a quote’s prep time on a peeling coastal weatherboard is a single afternoon for the whole house, the timber will still be in charge. Pay for the slow version. The boards have already been on the street longer than any of us.
Nail heads, rust and the small metal problem
Every weatherboard is held by metal. Rusty heads bleed. Punch proud nails, prime as metal, then the timber system. Galvanised replacement nails still want a paint film if they sit in a painted field. Stainless is happier in salt but can still tea-stain; it is not a reason to skip wash.
If boards are popping, the issue may be movement or a failed fixing, not a colour. Painting over a moving board is how you get a cracked stripe every summer.
Putty, primers and the urge to make it “perfect”
A board with a small knot can take a spot of the right filler and primer. A board with a long, open check might need a flexible approach or a splice. Filling every line of the grain on a 1950s hardwood so it looks like uPVC is a misunderstanding of the material. You want a paintable plane, not a plastic replica.
Oil-based primers still have a place on tannin-rich or very bare timber. They need dry time. Putting acrylic over tacky oil primer because the afternoon looked like rain is how you get a chewy film. The data sheet is not optional reading.
Scaffold etiquette on timber houses
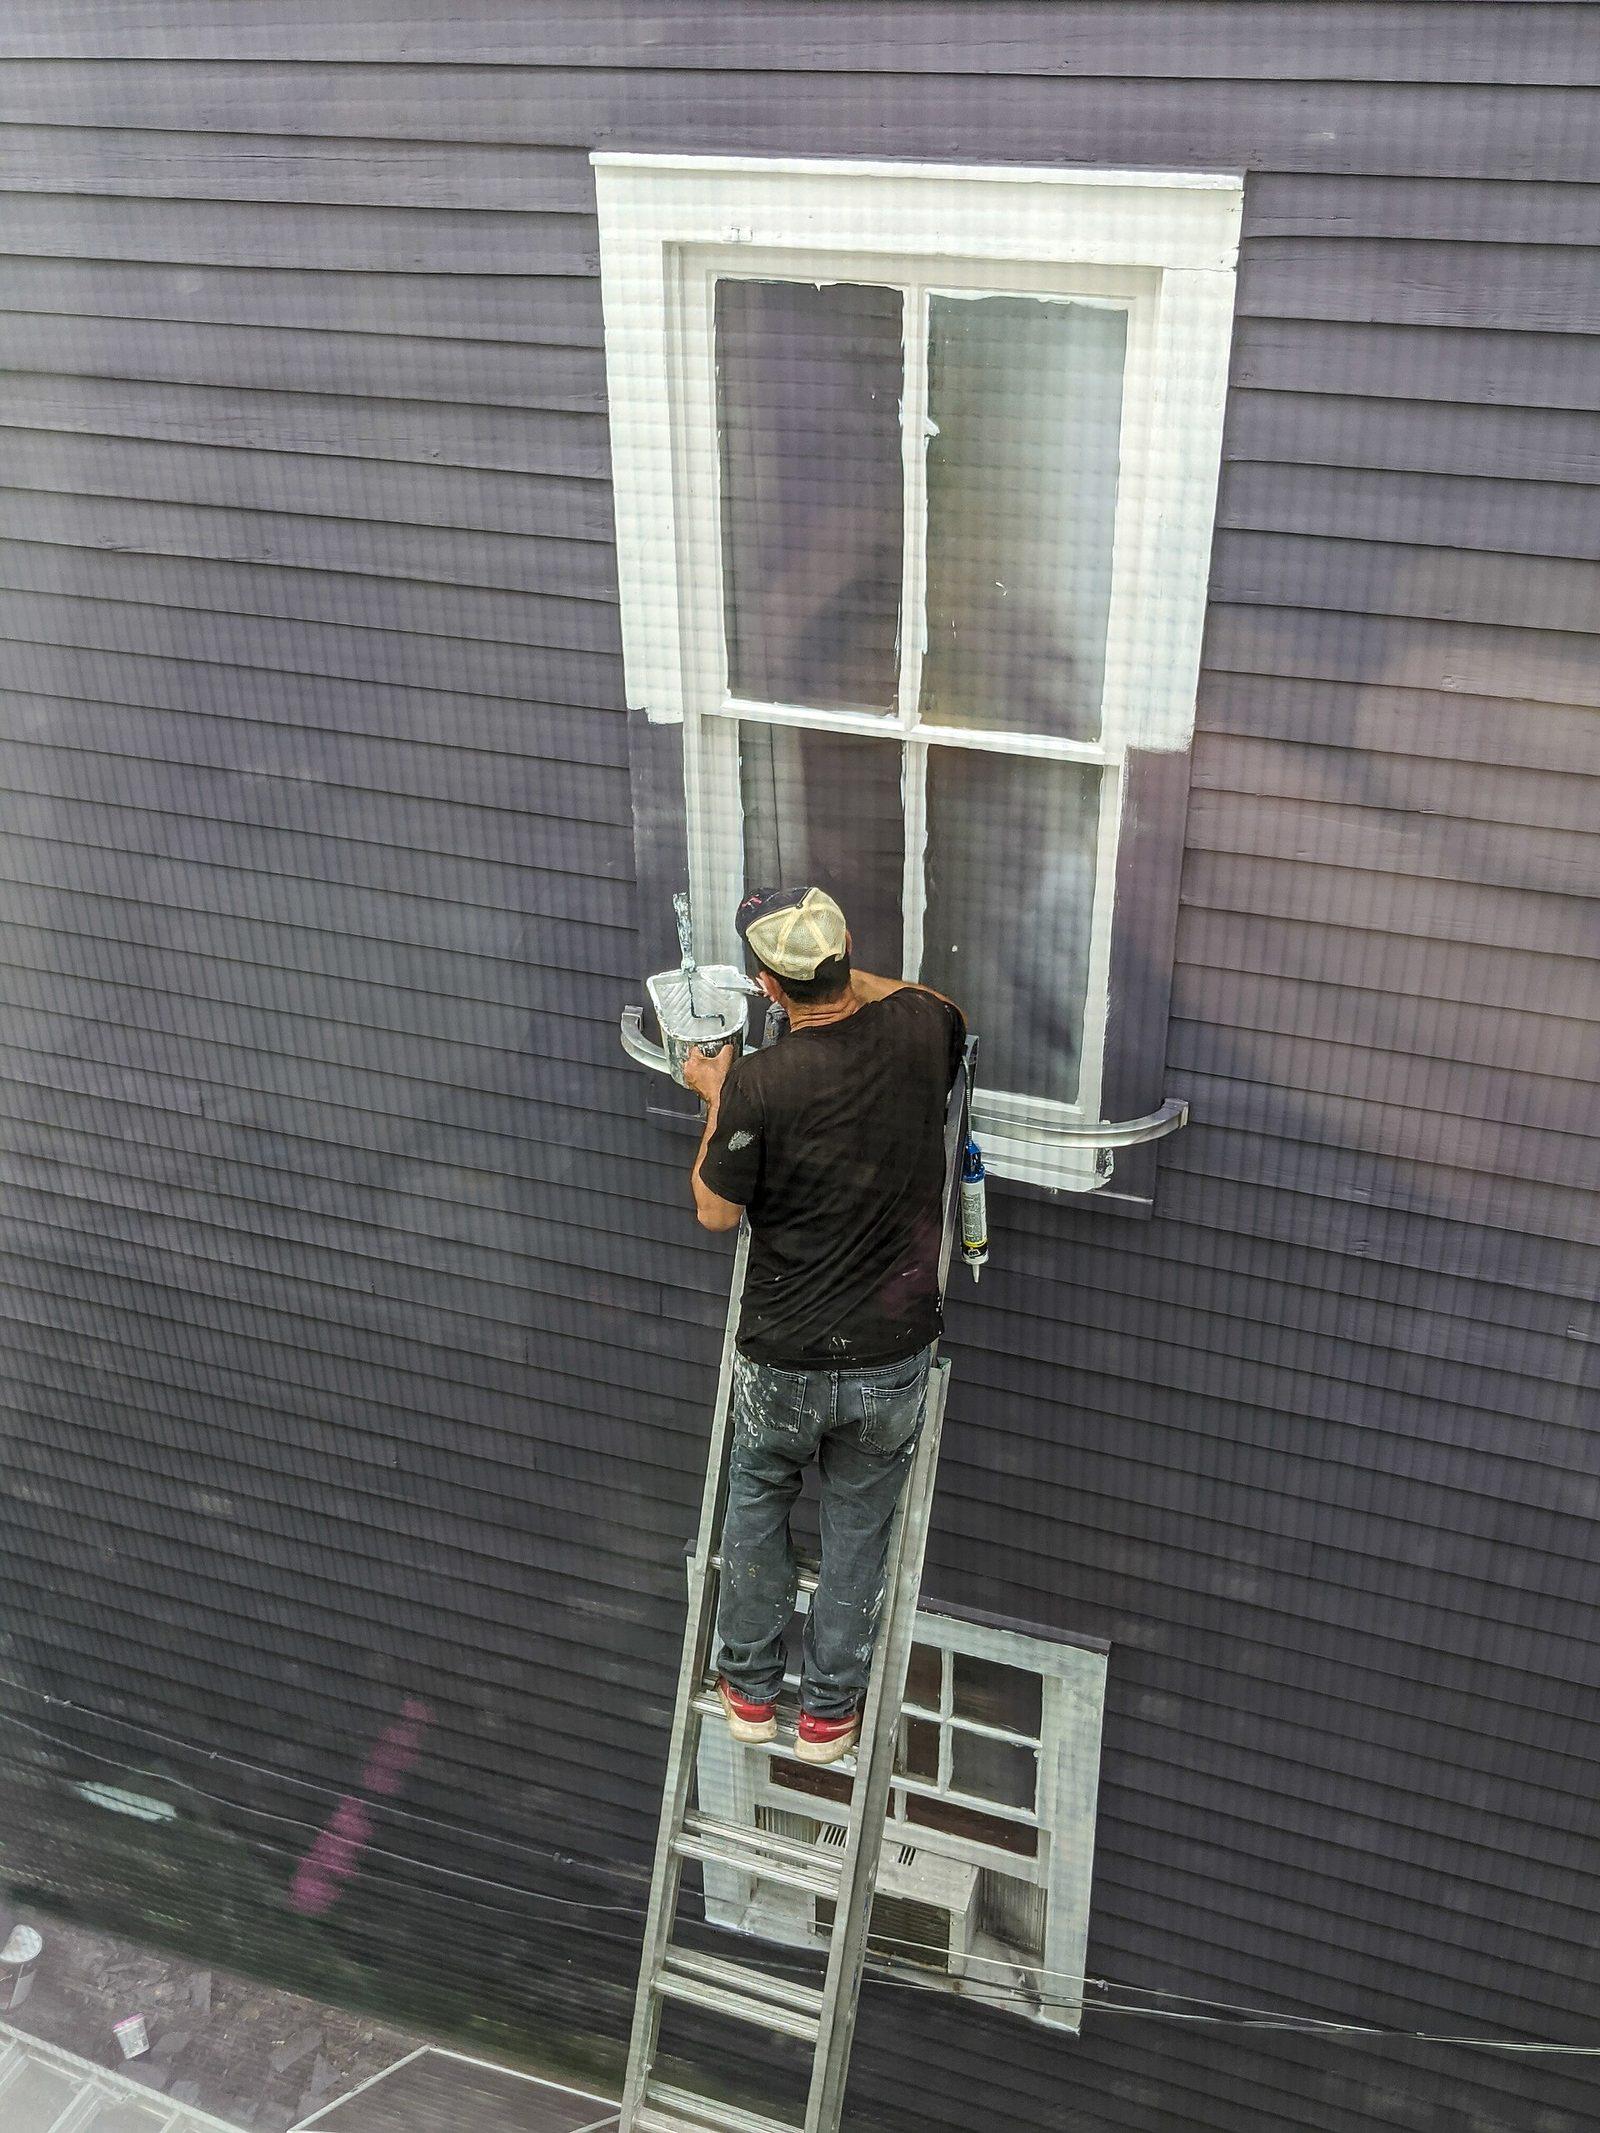
Hop-ups and boards against a freshly primed wall will mark it. Plan the sequence so you are not leaning dirty kit on yesterday’s primer. On two-storey weatherboards the access plan is the prep plan — you cannot properly wash and scrape what you cannot stand in front of. That is why the cheap ladder quote fails the timber, not only the painter.
Weatherboards are generous if you are. They have survived sixty summers. They will not survive a blaster, a belt sander and a skipped primer in the same week.
A note on paint thickness as protection
Owners sometimes ask for “a really thick coat so we never do this again”. Thick coats on timber crack. Two correct coats protect better than one proud skin. If you want more protection, add a maintenance wash and a timely recoat, not a third millimetre on day two. The board needs to move. The film needs to move with it. That is the whole game on lapped timber, and it is why patience in prep beats heroics in application every time we see a peeling Seaford elevation. Two correct coats, edges included, will always beat a thick gesture. If you remember nothing else, remember the bottom edge: it is where the bay drinks, and it is where skipped prep shows first. Paint that edge every time, even when the face still looks respectable from the nature strip.
People also ask
- Can I pressure wash weatherboards before painting?
- You can rinse them carefully from a distance. You should not close-blast old hardwood until the grain stands up like a fur. Soft wash, then targeted scrape and sand.
- Should weatherboards be stripped to bare timber?
- Only where the film has failed or you have a reason (severe failure, lead method, carpentry). Sound paint can stay. Bare grey timber must be primed, not just painted.
- How do you treat grey weathered boards?
- Grey is degraded wood. Sand to a firm fibre, maybe a timber restorative if the product system allows, then a proper timber primer. Colour will not resurrect UV-damaged fibres.